3D rendering has the potential to revolutionise the way brands and consumers interact with one another. Improved eCommerce images on their own could result in considerable increases in consumer satisfaction levels.
Given today’s increasingly visual economy, the cost savings that 3D rendered pictures provide are a breath of fresh air for brands looking to save money. To display your product’s beauty and potential while providing a better client experience, consider using a visualisation platform that provides 3D produced photorealistic image features
What is 3D rendering?
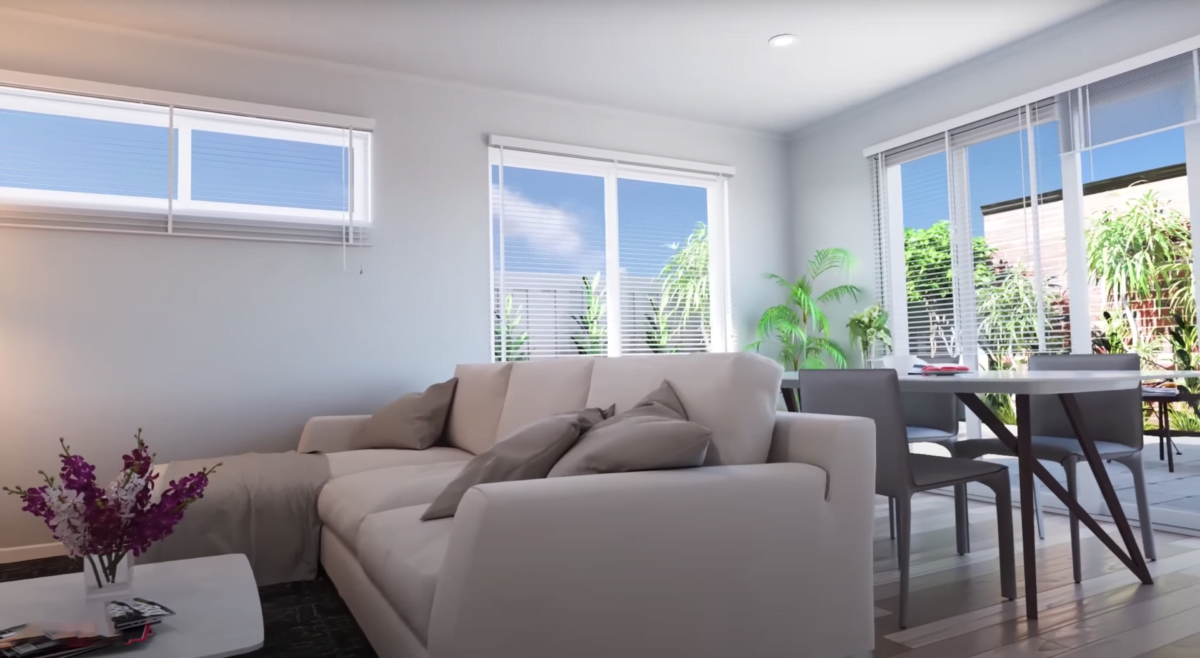
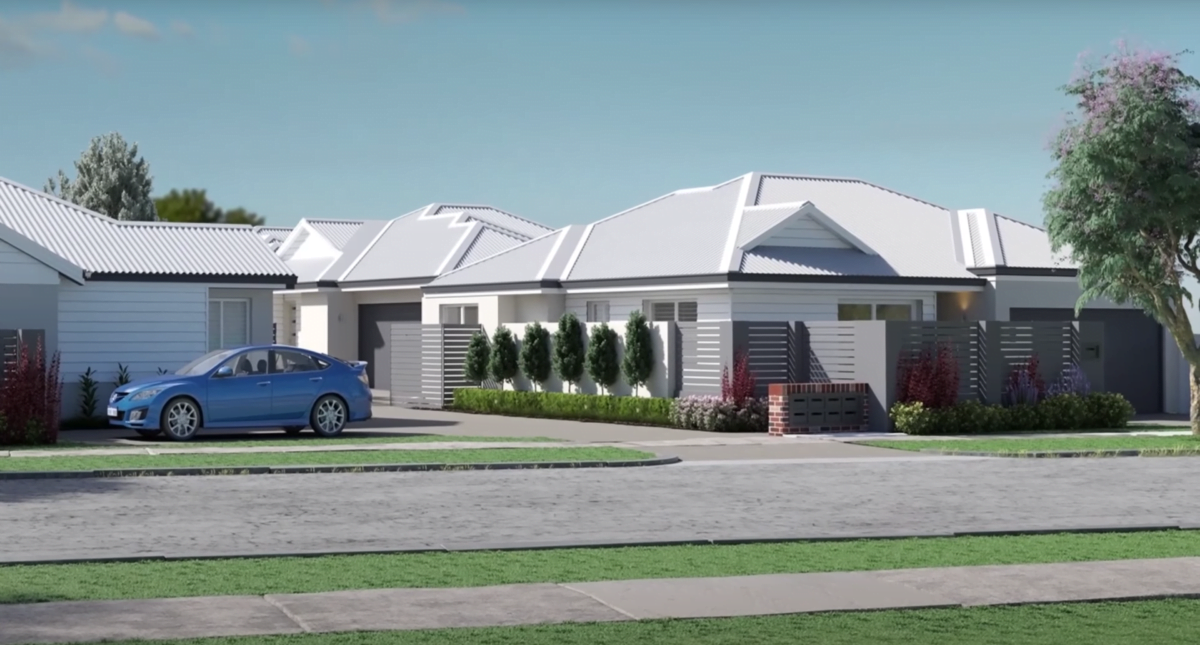
3D rendering is the process of converting the information contained in a 3D model into a 2D image or image sequence. It is possible to create a wide range of visuals using 3D rendering, ranging from purposely non-realistic to what is referred to as photorealistic. Because the latter appears to be so similar to photographs acquired by a standard camera, most consumers are unable to discern the difference between a 3D rendering and a “genuine” photograph.
Behind every 3D produced image, realistic or not, there is a rendering process that begins with 3D modelling and continues through post-processing.
The process of 3D rendering is time-consuming and complicated. It was once only available to huge enterprises with deep pockets and many resources, which limited its appeal. Consider large-scale film studios that used 3D animation to create blockbuster films that featured a variety of visually stunning visual effects, such as computer-generated imagery (CGI).
In recent years, improvements have been made to the software and tools used in the 3D rendering process, and they have become more widely available. Organisations of virtually any size may now develop 3D rendered pictures without spending their entire marketing budget on them. Consider the 3D rendering process to have a better understanding of how this is achieved.
How does 3D rendering work?
The 3D rendering of 2D images is described in detail in the following approach. Even though the process is divided into parts, a 3D artist may not necessarily follow the steps in the prescribed order and may skip between procedures. In some cases, such as comprehending the client’s vision, this is a task that must be completed on an ongoing basis.
Step 1: Comprehending the client’s vision
In order to construct a model, a 3D artist must first have an understanding of the project. A 3D artist begins by envisioning the project in their mind, using plans, sketches, and reference photos provided by the customer as a starting point.
Camera angles are generally agreed upon at this phase, based on the 2-dimensional blueprints, after which they are implemented.
Step 2: Materials and Texturing
To make the 3D models appear as realistic as possible, the 3D artist applies graphics to them using special software. An analogy for this phase would be to paint a physical model or glue various materials and images onto it.
In the majority of cases, there is also a material setup phase. This refers to the parameters that determine whether or not something is matte or glossy in appearance. Depending on the software being utilised, the artist can also change the roughness of surfaces and a variety of other factors.
Step 3: Lighting
The 3D artist positions lights in the 3D environment to simulate real-world lighting conditions. In many ways, this procedure is comparable to how a photographer or filmmaker would set up lighting before shooting, except that the 3D artist must also set up sunlight and ambient room lighting.
Step 4: Rendering
Rendering is the process by which the computer generates a 2D image or images from the scene built in the previous steps. In the physical world, it is equivalent to capturing a photograph with a camera.
Rendering can usually be completed within a fraction of a second but can take up to several days, depending on how complex the scene is. The amount of time it takes to render a scene depends on the complexity of the location and the quality that is required. The computer is fully responsible for completing this operation. Render farms, which are massive clusters of computers that produce images, are used in some circumstances to render images.
Step 5: Refining
During the refining phase, process drafts are supplied to the customer for feedback. These drafts are typically delivered in a low-resolution format to expedite the revision process and to save time.
The artist performs the specified adjustments to the scene, texturing, and lighting until the intended results are reached, the project is completed. Modifications can generally be made independently: if you make changes to the model, you don’t need to update the texturing.
Step 6: Final Delivery
The final 2D picture or images that have been agreed upon are delivered to the client. Depending on the requested resolution, the photographs will be given in a specific format and size compatible with your computer. Photographs for the web are often optimised for medium-size jpg files, whereas images for print are typically high-resolution raw files.
Uses of 3D Rendering
Rendering is a cost-effective and convenient option. 3D renderings allow you to see your design long before it is built or manufactured, which allows for more refinement and a better overall design in the long run.
You can show off sophisticated simulations by using animation to do so! The physics engines of today’s 3D modelling applications allow for the simulation of forces on materials. Structures that are under stress or boats bobbing in the ocean can be simulated in these simulations. Simulations of human movement through buildings can be used to plan the most optimal floor plans and to show products in the appropriate context in which they were intended to be used.
You Might Be Interested: Benefits of 3D Floor Plan Rendering
Alternatively, clients might choose to be marketing trailblazers by utilising innovative 3D rendering applications. Many developers and marketers are experimenting with virtual reality in their showrooms and on their websites.
Customers will have a more dynamic experience as a result of the rendering process. Furthermore, with the growth of 3D printing, 3D models are becoming more practical since your design can now be displayed in the physical world. Developers can get both 3D graphics and animations and an actual model for their showroom from a single provider, thanks to 3D printing.
How long does a product rendering take to complete?
Because there are numerous processes involved in the process of product rendering, it is difficult to estimate how long a project will take to complete entirely. Production of 3D product renderings might take anywhere between 5 days and 3 weeks, depending on the intricacy of the product being modelled. We at Viewtech 3D make it a point not to cut corners when it comes to the quality of our products.
Contact Viewtech3D if you’re looking for 3D Rendering Services.
Clients can also choose to be marketing pioneers and opt for unique 3D rendering applications, like virtual reality. The dynamic experience that this technology provides is something many developers are experimenting with in their showrooms or websites today. With ViewTech3D as a 3D rendering service provider, you can count on high-quality outputs that will attract more customers.
#TransformYourBusinessWithViewtech3D